I don't know what compelled me but I woke up yesterday with the idea in my head that I was going to learn to cook Swiss chard. The only time I had tried it in the past was at a fancy restaurant and it was terrible. Bitter and almost inedible. Assuming it was me, not the chef, I never bothered to try it again. So what was the precipitous for wanting to try this week? I wish I knew. Coincidentally we are in the height of chard season and I had not realized that the color is really irrelevant and has very little to do with the taste when prepared.
After making myself my coffee to go, Fair-trade Colombian of course, I headed off to browse Whole Foods for my veggies. As the farmer's markets don't open here until June I have found this is really one of the only places to buy my produce. It frustrates me to that we want to encourage people to eat healthy but most of the produce at large chain stores is on the verge of being rotten as soon as they buy it and has been off the farm for months anyway. Ugh. Fortunately for me there was quite a selection of different chard and as I had no idea which one to pick I went safe and chose the green variety. Kale was also on my list and I have found that I prefer the Lacinato variety with its less curly leaves but they were out of all types except the red. In the cart it went for another adventure. The grocer told me that everything just had arrived and was very fresh. Hopefully that is true but it looked nice and perky.

One of new personal goals is to meal plan for the week. It has something that has evaded me most of my adult life. I find it much more enjoyable to browse the aisles and choose what looks good to me. Unfortunately that can lead me to incomplete meals or more often than not wasted food. I hate to waste food for so many reasons. Last night I planned to use the Cranberry beans, or Cargamanto blanco, I already had and add in the chard. Unbeknownst to me adding kale is a pretty common variation of this dish so this wasn't something completely knew! Here is a link to a great source for buying heirloom beans so you can check them out. They can also be found in a lot of latin supermarkets.
Each region of Colombian has their own variations of this dish. The one I prepare is from the state of Antioquia. They can be prepared vegetarian if you like but you do need to add some fat when you cook them to prevent them from boiling over so add a bit of olive oil in the beginning. It is traditional to cook the beans with a pork hock and it does add flavor. A none smoked hock is normal but if you want to use a smoked one go for it. The beauty of cooking is we can vary recipes to our own personal tastes. Hocks freak you out? Add bacon. Etc, etc.
This is my recipe so let me know if you like it!
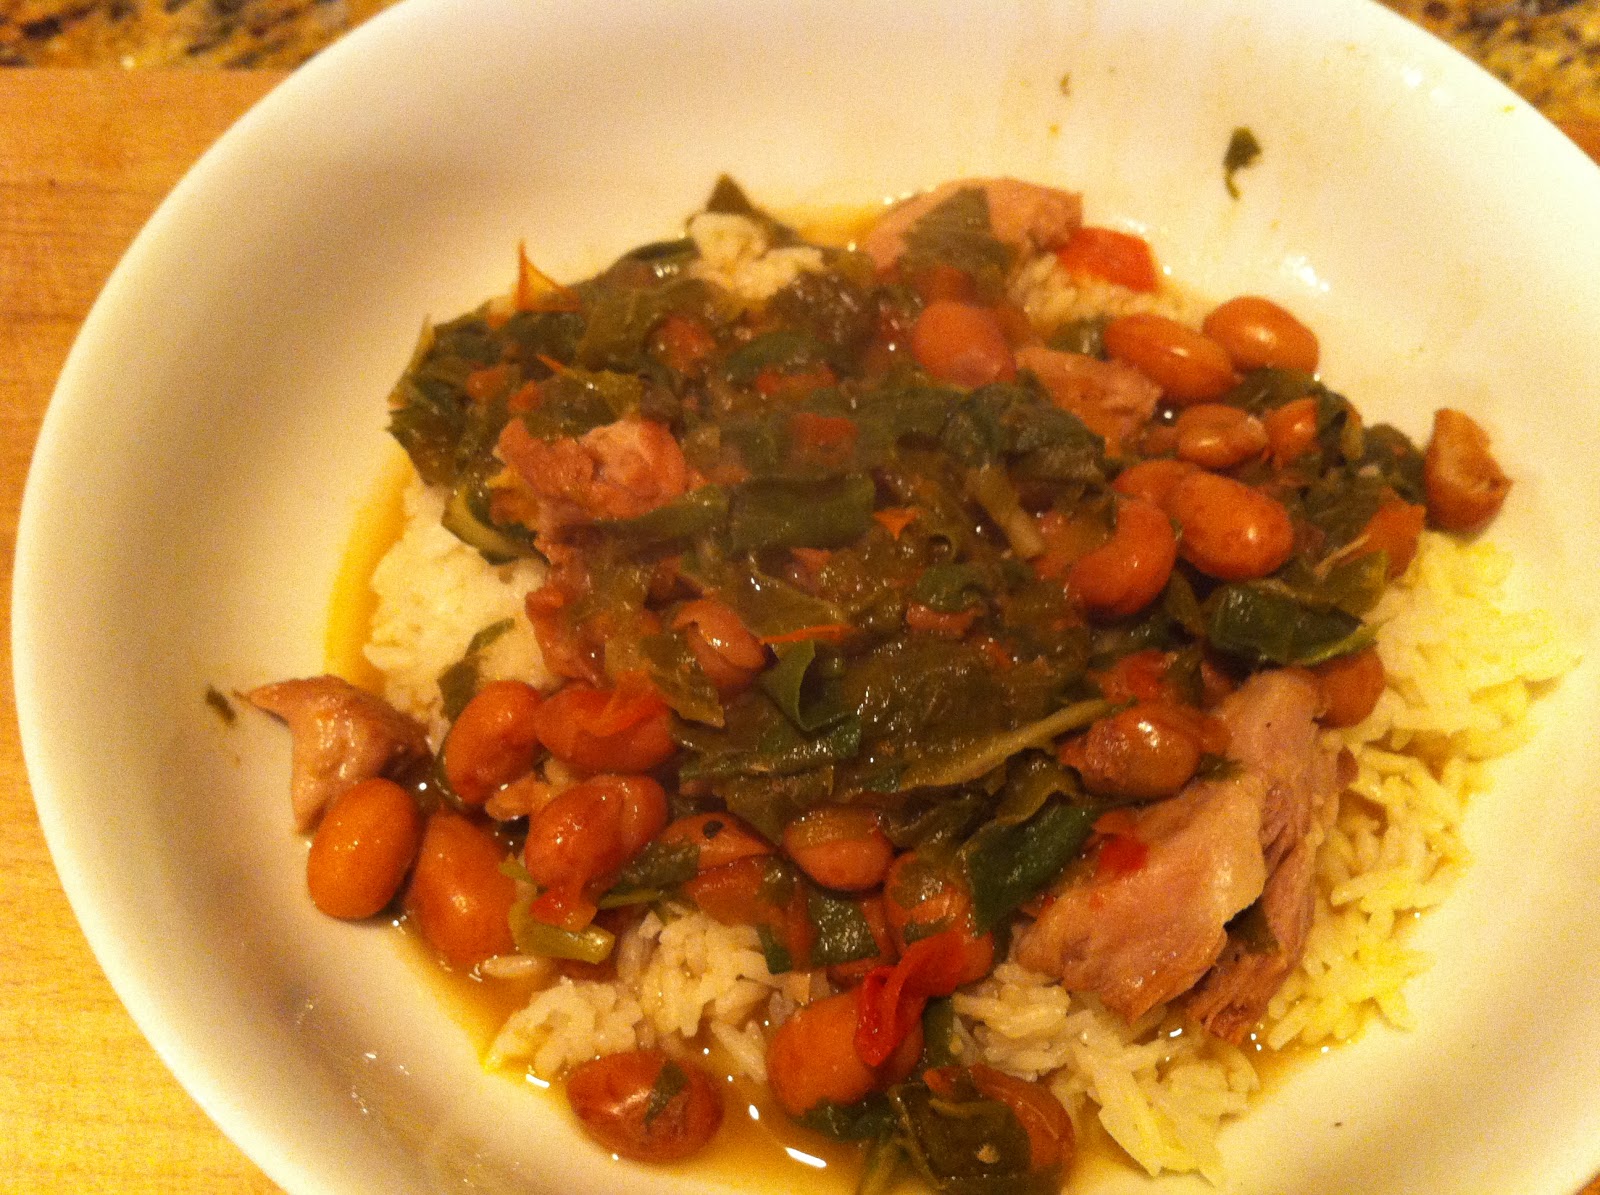
Colombian Style Cranberry Beans with Green Chard
1 lb. Cranberry Beans, Dry
2 C. Sliced Scallions, Green and White Parts
2 Large Plum Tomatoes, Chopped
2 Chicken Bouillon Cubes, Organic Preferably
4-5 C. Chard, Washed, Deveined and Chopped
1/2 C. Fresh Cilantro, Chopped
1. I prefer to always work with dried beans. (If you don't have time or don't want the hassle skip ahead to 3 and substitute canned beans. Just make sure to rinse them well due to the excess sodium.) Soak the beans in a bowl full of room temperature water overnight or 8 hours.
2. Drain beans and put the beans and pork in a pressure cooker and cover with fresh water about an inch above the top. Cook for 30 minutes. You can cook on the stove top but it will take much longer, approximately 2 plus hours, until soft but hold their shape.
3. Remove lid and finish on stove top at a slow simmer. Add ingredients scallions through chard and cook until beans are completely soft but not falling apart. Add cilantro and salt to taste. Shred meat and serve on top of rice, brown rice or even quinoa.
It is traditional to serve the cooking liquid or soup with the beans in a bowl but I prefer to just serve them a little wet on top of a starch.
If I was to make it again I would have added the chard later in the cooking time as it is more delicate than kale. If you substitute kale make sure to add it at step 2 to give it time to cook down. This recipe is so adaptable, enjoy!
Tune in tomorrow for adventures in baking sourdough bread!